Learn How To Send A Bundle
FuseSign Demonstration
Watch a pre-recorded FuseSign Demonstration.
Read Navigating FuseSign to understand where to find features and function within the layout of the FuseSign interface.
Read Step-By-Step below to understand a typical workflow across preparing, sending, monitoring, and receiving FuseSign bundles.
Video Demonstration
Step-By-Step
Your business may have prepared detailed step-by-step instructions including business preference for the use of specific features.
The below is intended as a process overview and quick start guide only.
Step 1: | Start a New bundle by clicking New on the side navigation panel accessible from any screen in FuseSign. |
Step 2: | Go to the Recipients Panel to Add Bundle Recipients. These are the people who will be required to view or sign the documents. |
Step 3: | Go to the Details Panel to add a bundle Subject and Body. These can be added manually or by applying a Bundle Template. |
Step 4: | Go to the Details Panel and select the Recipient Verification mode. |
Step 5: | Go to the Documents Action Panel to add documents and corresponding recipient actions to the bundle. |
Step 6: | In the Documents Action Panel select the Signature Placement Mode. Add Signature Placeholders if this option has been selected. |
Step 7: | Perform any of the optional steps listed below:
|
Step 8: | Go to the Actions Panel and click Send Bundle. The bundle will now move to the Active stage and Document Bundle Folder (Learn more about Bundle Stages). Your client will receive a notification asking them to complete their actions (Learn more about the Bundle Recipients Experience). |
Step 9: | While your bundle is in progress and you are waiting for the recipients to complete their actions you can:
|
Step 10: | When all recipients on the bundle have completed their actions you will receive a notification that the bundle is finalised (either to the bundle sender or central inbox depending on your firms Finalisation Email settings). Go to the Completed Document Bundle Folder to view and download the finalised documents. |
Personalised Training Session
Need a personalised training session? Either one-on-one or for your team?
Please reach out to us at support@fuse.work and we’ll be in contact to chat through the best options for your needs.
Specific Questions
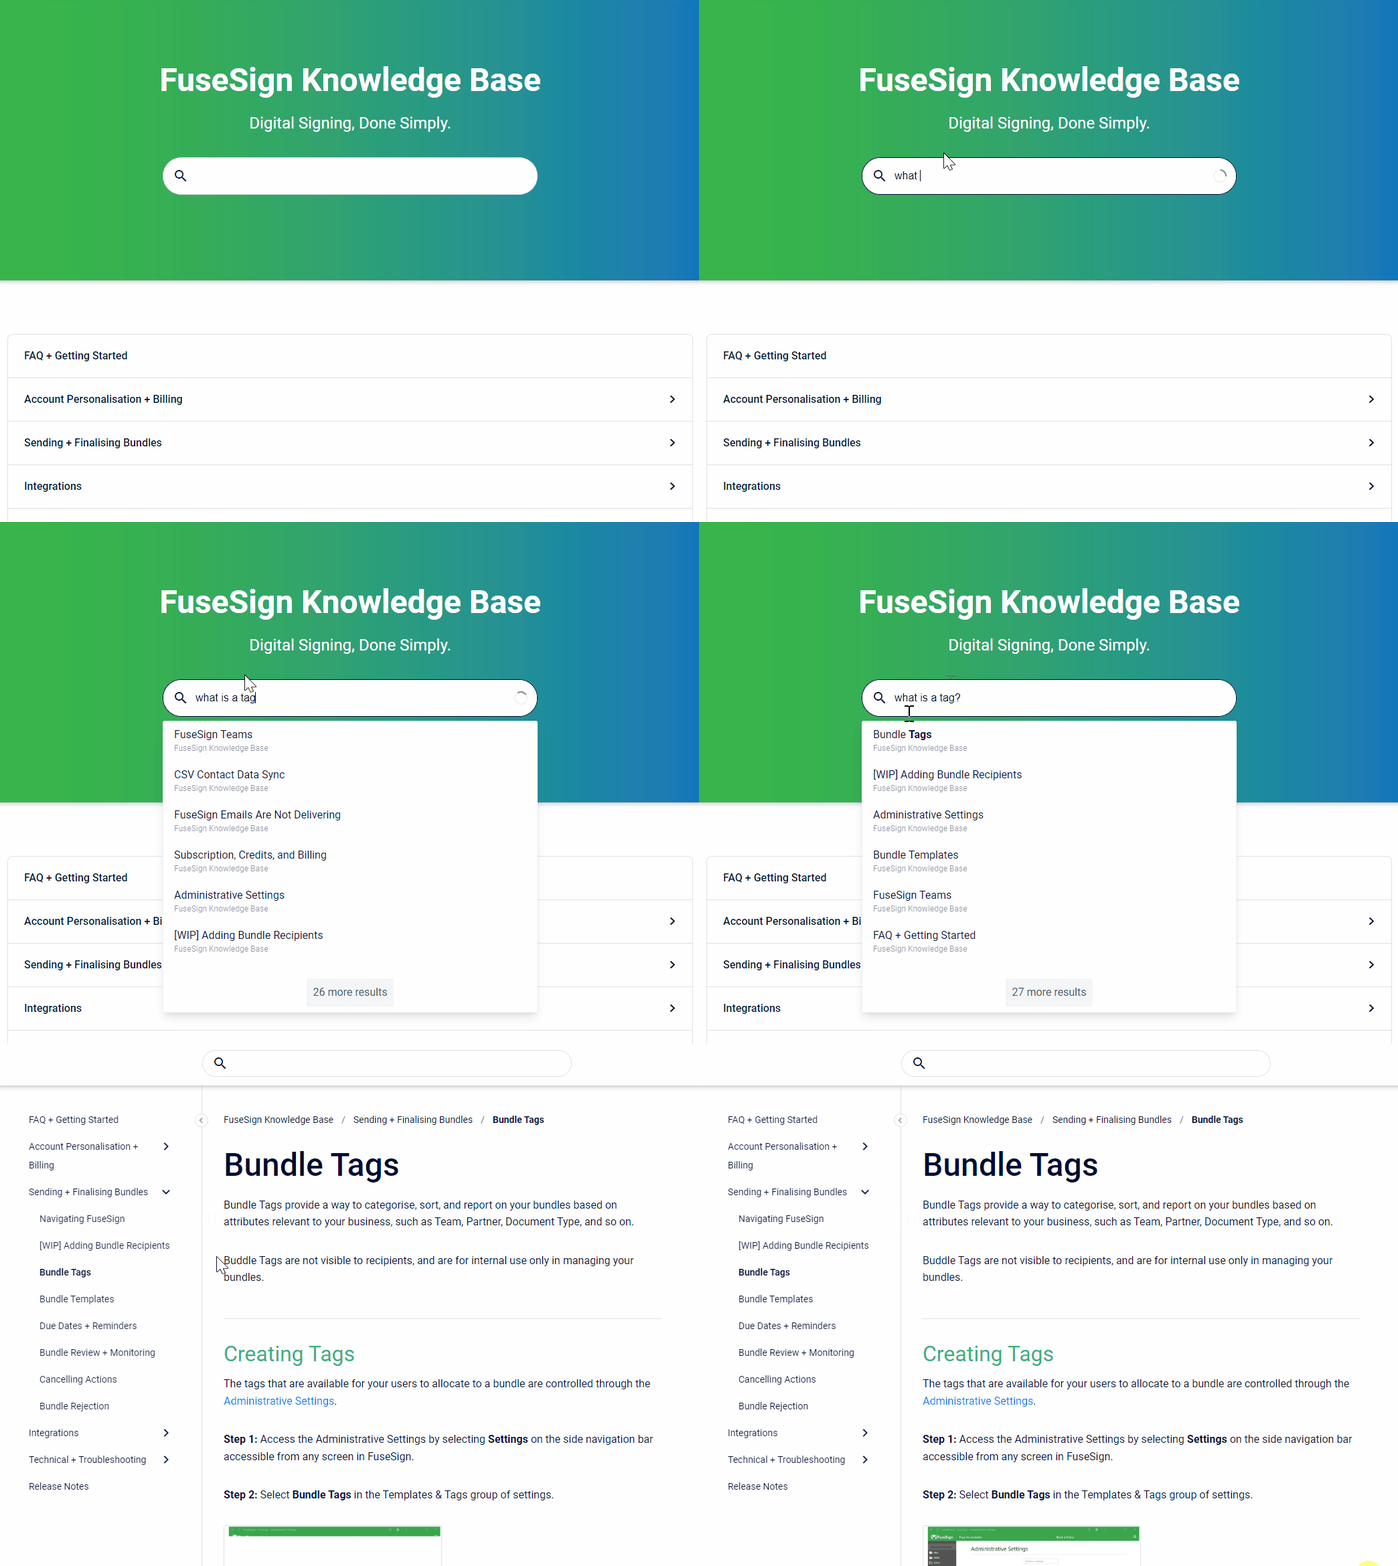
You might like to dig deeper into each of the features listed under Sending + Finalising Bundles, read our FAQ’s, or search the FuseSign Knowledge Base.
Couldn’t find what you need? Please contact our office at support@fuse.work.

