Navigating FuseSign
The FuseSign User Interface
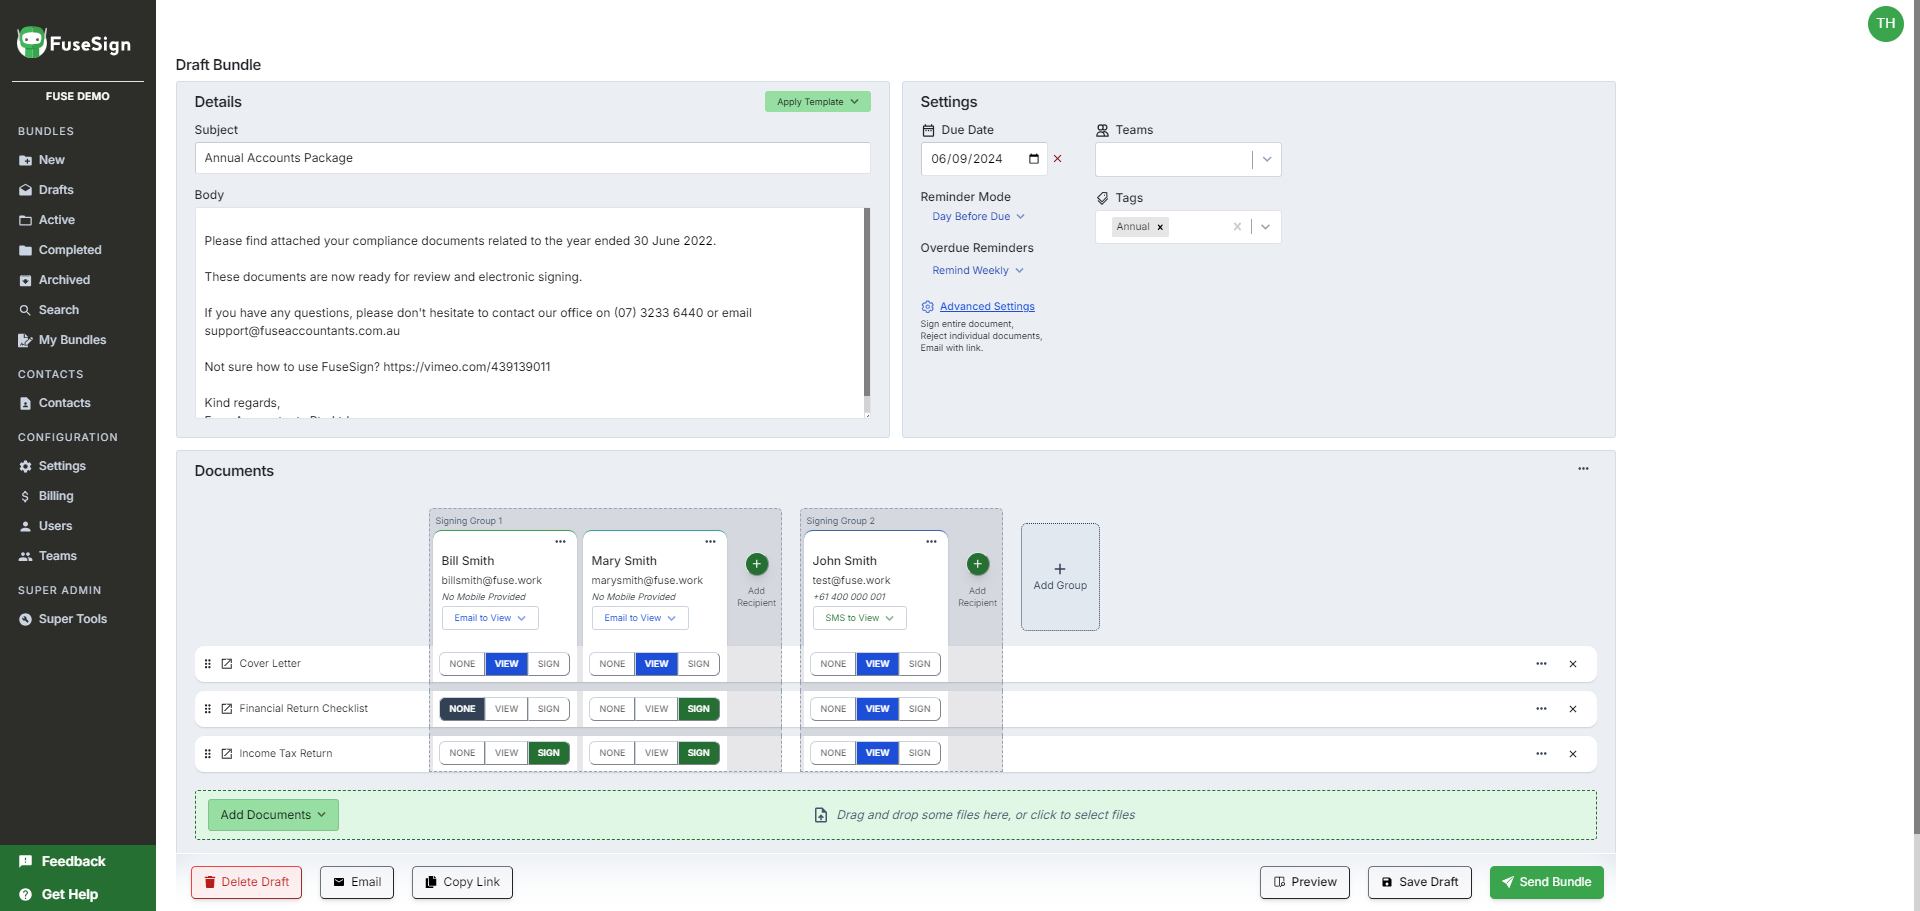
When creating a new document bundle there are four panels on the FuseSign user interface: Side Navigation Panel, Documents Panel, Bundle Details Panel, and Actions Panel.

Side Navigation Panel
Document Bundle Folders
As your FuseSign document bundles move through the Bundle Workflow Stages of New > Draft > Active > Completed > Archived they are sorted and stored in the appropriate folder under Document Bundles.
Contacts
FuseSign includes an inbuilt contact database. Please refer to the Contact Management article for more information.
Configuration
The Configuration section is where you can configure elements of FuseSign specific to you business.
Settings: The Settings section is where you can access the Administrative Settings to control your Account, Signing Experience, Communication Preferences, Template & Tags, and Contacts.
Billing: The Billing section is where you can access details relating to your Subscription, Credits, and Billing.
Users: The Users section is where you can add, edit, and remove your FuseSign Users.
Teams: The Teams section allows you to setup user ‘Teams’ to control access to signing bundles and set custom branding for bundles assigned to that team.
Bundle Details Panel
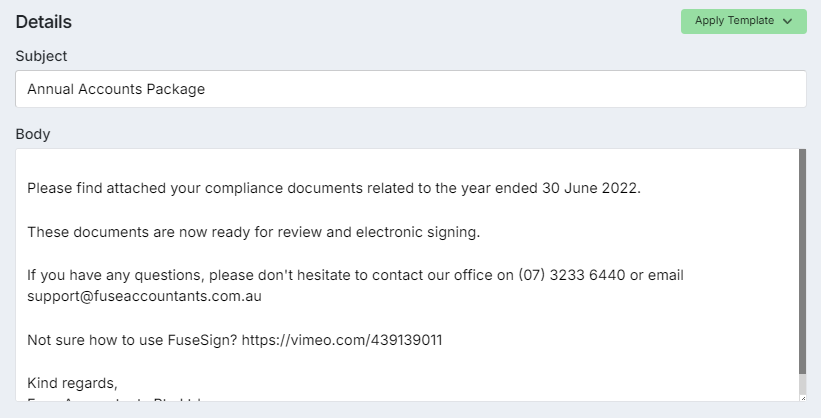
The Bundle Details Panel is where you can set specific details for the bundle including the email subject and body text the recipient will receive.
Each item can be updated individually, or you may choose to apply a Bundle Template containing pre-defined settings for each item.

Settings Panel
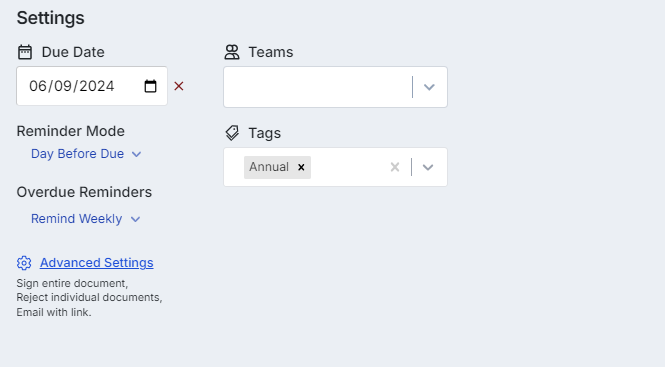
The settings panel is where you can apply any Bundle Tags, a Due Date, and Reminders. The is also where you can designate a bundle to a Team and edit Advanced Settings.

Documents Panel
The top section of the Documents Panel is where you can is where you can search your Contacts to add bundle recipients, check recipient email address validation, and create recipient signing order groups.
The bottom section of the Document Panel is where can add documents via drag ’n’ drop, or browse your files, to add documents into your draft bundle. This also contains the Document and Recipient Action Panel which lists all of the included documents and recipients, in a grid or expanded format, to allow for granular control of sign and view actions.

Actions Panel
The Actions Panel contains the available actions once you’ve prepared your bundle. Some actions only become available once a draft has been saved.

Delete Draft: The Delete Draft button completely removes the draft bundle and all associated details from FuseSign.
Email: The Email button opens a draft email in Outlook including a hyperlink to the draft bundle which can be used to share the bundle with other internal users for review.
Copy: The Copy button creates an duplicate copy of the bundle.
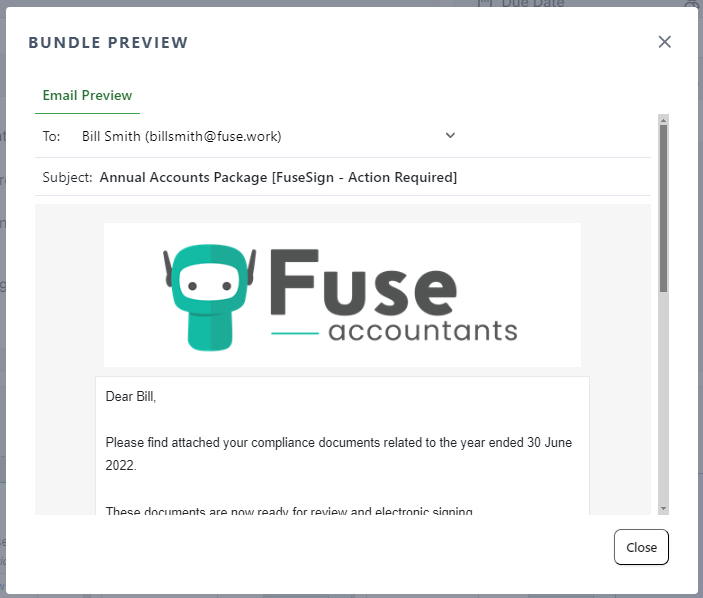
Show Preview: The Show Preview button opens a window displaying a preview of the email that each bundle recipient will receive.

Save Draft: The Save Draft button saves the bundle and retains it’s location in the Draft bundle folder.
Send Bundle: The Send Bundle button moves the bundle from the Draft stage to Active and sends the recipients notifications of the active bundle awaiting their actions.
If you have any questions, please contact our office at support@fuse.work
